Get your first token
This is one full Authorization Code + PKCE round trip against a local deployment, done by hand. Every client library implements this flow, and having walked through it once yourself usually makes debugging one much easier.
The examples assume ISSUER=http://localhost:3000 and a public client with the id demo whose
registered redirect URI is http://localhost:8080/callback. Substitute your own from
Register your first client.
-
Generate a verifier and its challenge. PKCE is mandatory for every
response_type=coderequest here, andS256is the only accepted method.// save as pkce.ts, run with: bun pkce.tsconst verifier = Buffer.from(crypto.getRandomValues(new Uint8Array(32))).toString('base64url');const challenge = new Bun.CryptoHasher('sha256').update(verifier).digest('base64url');console.log({ verifier, challenge });Keep the verifier; you will send it to the token endpoint in step 4.
-
Send the browser to the authorization endpoint. Build the URL with your challenge:
http://localhost:3000/auth?response_type=code&client_id=demo&redirect_uri=http%3A%2F%2Flocalhost%3A8080%2Fcallback&scope=openid&state=8f2c1d&nonce=b41e07&code_challenge=<challenge>&code_challenge_method=S256(All on one line, without the indentation.)
stateis yours to check on the way back;nonceis echoed into the ID token so you can tie it to this request.scope=openidis what makes this an OpenID Connect request and produces an ID token. A refresh token also needsoffline_accessin the scope andprompt=consentin this URL andrefresh_tokenamong the client’s grant types. A console-created client has onlyauthorization_codeby default. If any of the three is missing the scope is dropped silently, with no error: you get a token response with norefresh_tokenin it. The server must also listoffline_accessamong its supported scopes, as it does by default; while it does not, the token endpoint refuses every refresh token asunsupported_grant_type. -
Sign in and consent. The server redirects to its own interaction screens: a sign-in form for the project this client belongs to, then a consent screen listing the scopes (consent is on by default for a new client). Approving both sends the browser to
http://localhost:8080/callback?code=<code>&state=8f2c1d&iss=http%3A%2F%2Flocalhost%3A3000Nothing needs to be listening on port 8080; copy the
codeout of the browser’s address bar. Check thatstatecame back unchanged, and thatissis your issuer. -
Exchange the code at the token endpoint. The code is single-use and lives 60 seconds, so do this promptly. If you take longer, start again at step 2:
Terminal window curl -s http://localhost:3000/token \-H 'Content-Type: application/x-www-form-urlencoded' \-d grant_type=authorization_code \-d code=<code> \-d client_id=demo \-d redirect_uri=http://localhost:8080/callback \-d code_verifier=<verifier>redirect_urimust be byte-identical to the one in step 2 — the grant compares it against the value recorded on the code and refuses a mismatch. For a confidential client, dropclient_idfrom the body and authenticate instead:-u demo:<secret>forclient_secret_basic, or-d client_id=demo -d client_secret=<secret>forclient_secret_post.The response is the standard token response:
{"access_token": "…","token_type": "Bearer","expires_in": 3600,"id_token": "…","scope": "openid"} -
Decode the ID token. It is a signed JWT; the payload is the middle segment, base64url:
Terminal window echo '<id_token>' | cut -d. -f2 | tr '_-' '/+' | base64 -d 2>/dev/null | jq .Check
issagainst yourISSUER,audagainst your client id, andnonceagainst step 2. A real client verifies the signature as well, against a key fromGET /jwksselected by the token’skid. The payload also says how the user signed in:amris["pwd"]for a password, or["pwd", "otp", "mfa"]with a one-time code, so to require a second factor test formfa, not for the claim being present. -
Call the UserInfo endpoint with the access token:
Terminal window curl -s http://localhost:3000/userinfo -H 'Authorization: Bearer <access_token>' | jq .What comes back is governed by the scopes granted and by the claims configured on the server.
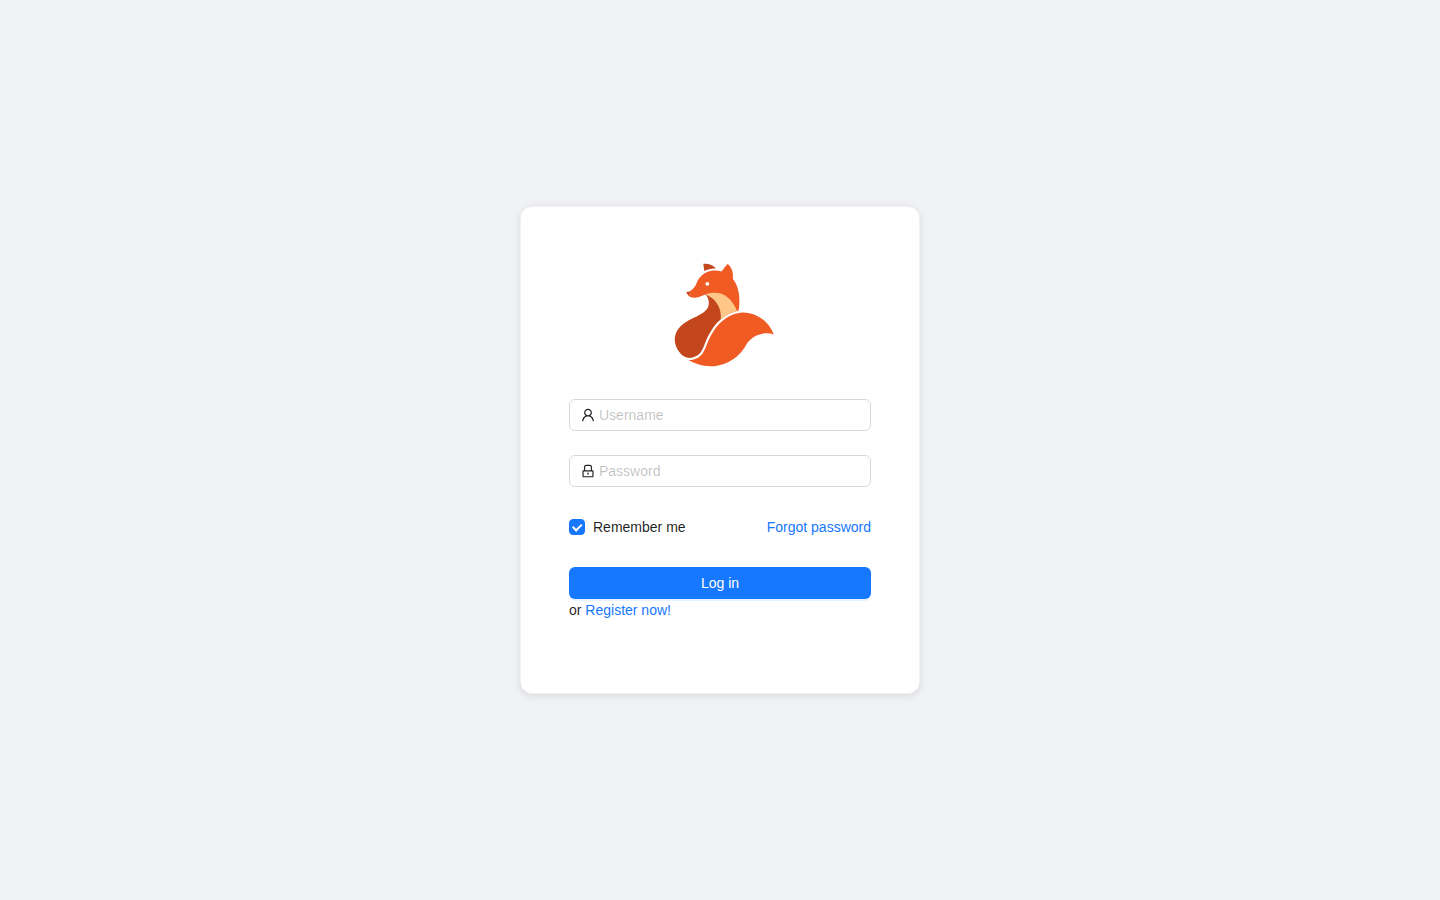
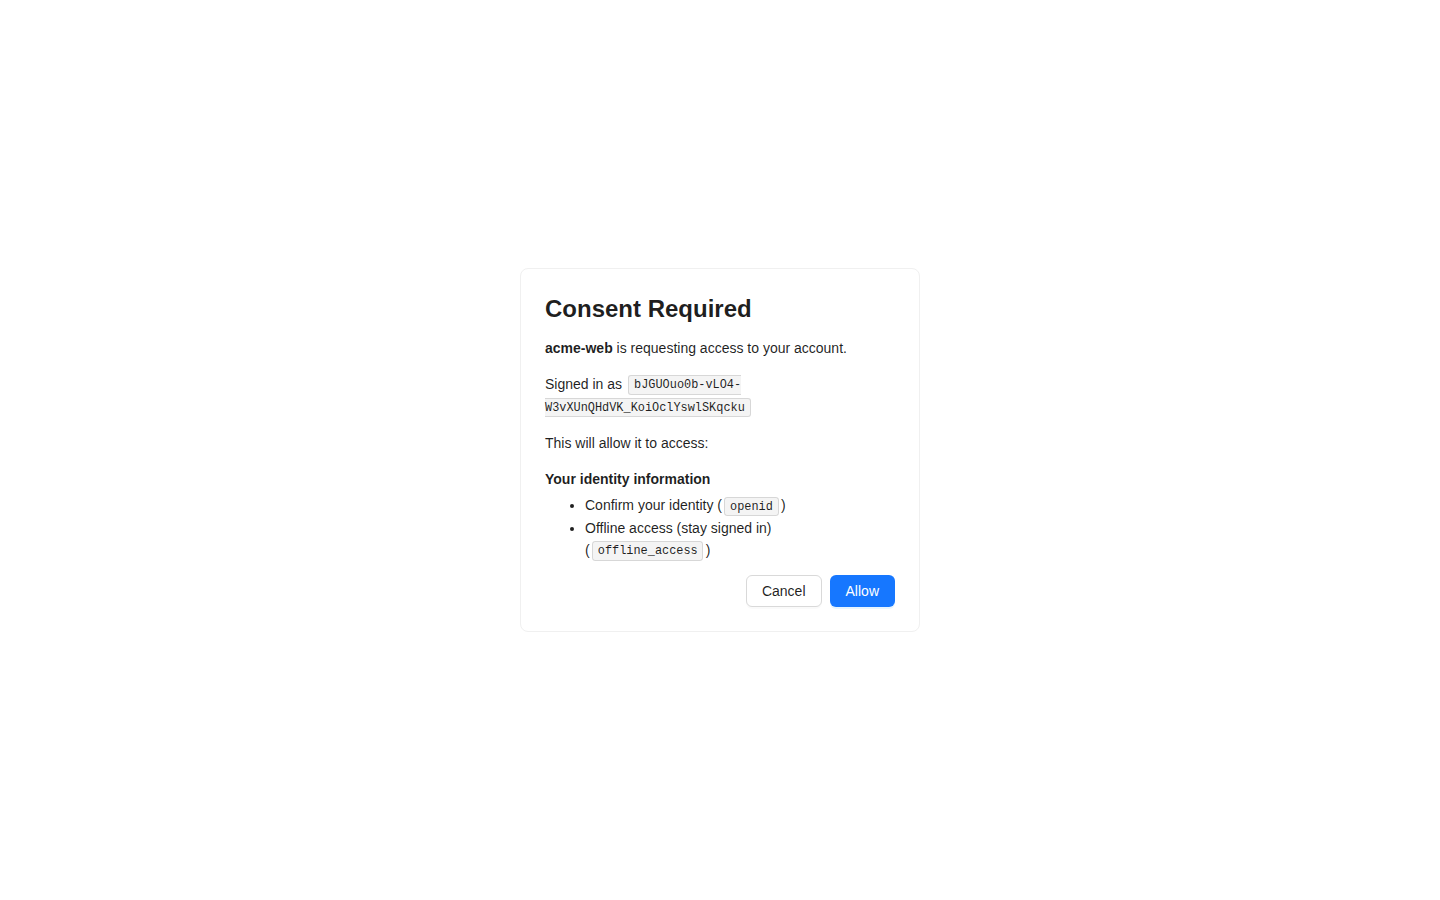
The two screens step 3 passes through, on a default deployment:
On by default, or behind a flag
Section titled “On by default, or behind a flag”Most endpoints are governed by a feature flag, and a flag that is off means the endpoint is not
served at all. The refusal is indistinguishable, on purpose, from a path the server does not
have. So a 404 on one of these is a configuration answer, not a defect:
- Always available, with no flag:
/health,/.well-known/openid-configuration,/.well-known/security.txt,/jwks,/authand/token. Everything in this walk-through except step 6 is in this group. - On unless you turn it off:
/userinfo(userinfo.enabled) and RP-initiated logout (rpInitiatedLogout.enabled). - Off until you turn it on: pushed authorization requests, introspection, revocation, dynamic client registration, the device flow, CIBA and the MCP control plane.
The full table, with the flag that governs each endpoint, is the endpoints reference; the flags themselves are in the settings reference. A setting takes effect when you save it.